Want to lower your heating bills and increase comfort in your apartment? This article provides practical tips on upgrading your heating system. Learn how a typical apartment heating setup works, discover innovative solutions for automation, and find out how to improve energy efficiency effectively. Finally, explore key steps to further optimize your heating system and reduce costs.
The Problem: Inefficient Heating in My Old Apartment
The apartment is located in Kraków, on the very last floor in the block from the 80s. It’s insulated with 10 cm of styrofoam. The apartment has an area of 55 square meters, and it has two rooms (bedroom and study), a kitchen and a small bathroom. The heating system consists of a portable heater placed in a kitchen and two three-steps heaters, one placed in the bedroom and the other one in the study. Each heating step has a power of 2300 Watts. Note that only two of the three steps are in use and that the second step is used only when the conditions outside are really harsh, so the third step appears to be redundant and it’s there in case there is a circuit break.
Heating was turned on and off by a programmable switch (fig. 1), which turned on off-peak energy hours, so the energy costs would be lower. Actual heating steps were regulated by hand i.e. when the temperature was too low or too high - the appropriate overcurrent circuit breaker was raised or lowered.

The disadvantages of this solution include a total lack of room temperature and humidity control. It means that the rooms would be alternately chilled and overheated. This led to a reduced comfort of living, increased energy consumption, and also as it later turned out, to the condensation of water in the walls and its efflorescence. In fact, it was the discovery of efflorescence on the walls and their impact on health that motivated me to modernize automation.
The Solution: Smart Home Automation
The primary issue with this system was the control of the temperature in the rooms or rather its complete lack. The project assumed sensors in all the rooms, and then control of the individual heating levels using relays and contactors. The whole thing should be controlled from one program and the temperature settings should be possible to change without interfering with the code.
In the first step, I undertook to sensorize the rooms to know what I was up against. I thoroughly evaluated the choice of sensors and the home automation system, and after analyzing the pros and cons, I decided on sensors that communicate wirelessly using the ZigBee protocol. Because it integrates with the zigbee2mqtt software and positive opinions, I decided to buy a coordinator (Fig. 2) and sensors from Sonoff (Fig. 3).


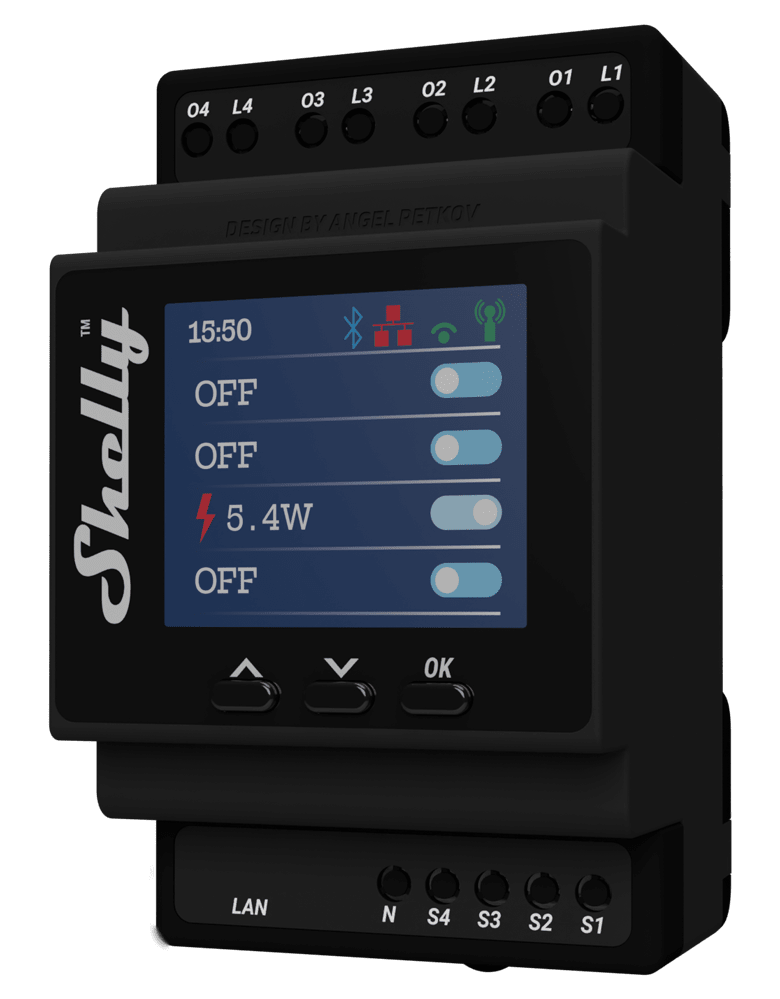
To control individual heating levels, I initially considered using the Shelly Pro 4PM product (Fig. 4), a key advantage of this product was the openness to various protocols and the ability to regulate up to four heating levels, which perfectly suited my needs. The manufacturer claimed that the device would be able to regulate outputs with a load of 16 A per channel and a maximum total load of 40 A. However, it turned out that I received a version with a common power supply for all 4 channels, and the maximum wire cross-section was only 2.5 mm². Based on national building codes a 2.5 mm² wire should not be loaded with a current greater than 19.5 A, so I decided to choose another product.

After returning the device, the choice fell on intelligent ZigBee contactors from a chain DIY store popular in Poland (Fig. 5).


After installing the contactors in the distribution box and pairing them with the ZigBee network, I started programming the automation in node-red software, which is the de facto standard in home automation applications. The control algorithm is based on a PID controller (or rather its PI variant), which is also the de facto standard in such applications. I used the second Ziegler-Nichols method to find the controller parameters. This was easy because one of the rooms was already cooled down, so all I had to do was start the heating, note the delay L after which the temperature in the room would start to rise, and the rate of temperature increase at the inflection point of the temperature graph R.

Due to the high inertia of the radiators, the delay L was as much as 3 hours, and the rate of increase was 1.1 degrees Celsius per hour at the inflection point.
Ultimately, the values used in the controller were:
()
After verifying the correctness of the parameters, which lasted for the next few days, I set the temperature setpoint during peak tariff hours, when no one is at home anyway, to 18.5℃, and the temperature during off-peak hours to 19.5℃.
Results: Lower Bills and Increased Comfort
One significant benefit was a noticeable improvement in sleep quality, although we could lower the temperature, because the optimal temperature for sleep is around 17℃. Another noticeable effect is the greater comfort of staying in the apartment and the lack of need to think about manually controlling the heaters using circuit breakers. The sensors also revealed the stabilization of the relative humidity level, although here there was also a need to buy window ventilators. Interestingly, along with the increase in comfort, the bills related to heating also fell. Due to the fact that we do not overheat the apartment and heat mainly during off-peak hours, our electricity bills fell by around 20%. The full effect will be visible after the full heating season, but nevertheless the effect is already measurable.
The gross cost of materials was 660 PLN, excluding the computer that acts as a server, which in my case is a Raspberry Pi minicomputer purchased a few years ago, its current price is about 300 PLN including the necessary elements for launching (memory card, power supply, housing). I worked on the project in my free time, but I think I managed to install and launch the sensors together with the ZigBee coordinator in less than two hours. I spent much more time on installing intelligent contactors, I think I spent about 4 hours on it. Programming and adjustment was much more enjoyable, but it took me an additional 6 hours.
In summary, the gross cost of materials is about one thousand zlotys, and the work time was 12 hours. In addition to lower bills and higher living comfort, it was possible to eliminate efflorescence from the walls, which is tantamount to improving the health of the household members.
Future Possibilities: Expanding the Smart Home
The existing system offers excellent potential for expansion and customization. In my free time, I am thinking about further expansion of the home automation system.
One potential enhancement involves passive cooling of the apartment during summer months by using window actuators and external window blinds, so that the windows open in the apartment when the outside temperature is lower than the inside temperature and the blinds go down when the sun is on the side of the window.
Another idea is lighting in the bedroom, which is integrated with the alarm clock, so that getting up in the morning in winter is done with the help of gentle lighting similar to natural light in the summer.
There is also the idea of modifying the PID controller to control using neural networks, but this may be in the next heating season, so that using historical data, the network learns when and how hard to heat, knowing the weather forecast, the history of people staying in the apartment, energy prices and the room temperature.
If you found this article interesting, you might also be interested in our energy solutions, like Plishka, which uses smart sensors and relay control to automate heating room by room.